The ulterior motive is to embed a Superset Dashboard into e.g. a REACT application. To achieve this, one step includes the creation of guest tokens (service accounts). This process is (in my opinion) not sufficiently well documented, which is why i try to close this gap with this blog post.
Overview
To achieve the embedding of a dashboard the following steps have to be done on the backend side. I think khushbu.adav (@medium) created quite a good comprehensive tutorial, including setting up the client application, which would eventually use the guest token. Unfortunately, the official Superset documentation isn’t as comprehensive (npmjs.superset). The overall outline looks like this
- activate the FEATURE_FLAGS.EMBEDDED_SUPERSET
- create a guest token (service account)
- Use the guest token and dashboard hash-id in your client application
This post will, however focus on step two, the creation of a guest token, since i couldn’t find good comprehensive resources on the internet and unfortunately neither khushbu.adav nor the superset documentation go into much detail and assumed familiarity with the superset api calls.
How To Create A Superset Guest Token
The overall process is a 2 step approach:
- create an access token for a user, which has the privileges to create guest tokens
- create a guest token using the previously created access token. When creating the guest token, you also need to specify the security context, e.g. what that token is able to access.
Creating A Guest Token in Python
 import requests

#####
# 1. first we need to get a token for an account, which has privileges to create guest tokens
#####
 api_url = "your_url/api/v1/security/login"
 payload = {"password":"your password",
            "provider":"db",
            "refresh":True,
            "username":"your username"
 }
 response = requests.post(api_url, json=payload)

 # the acc_token is a json, which holds access_token and refresh_token
 access_token = response.json()['access_token']

 #####
# 2. Now create a guest token (Service Account) with predefined privileges and filter criteria
#####
 api_url_for_guesttoken = "your_url/api/v1/security/guest_token"
 payload = {
     "user": {
         "username": "stan_lee",
         "first_name": "Stan",
         "last_name": "Lee"
     },
     "resources": [{
         "type": "dashboard",
         "id": "abc123"
     }],
     "rls": [
         { "clause": "publisher = 'Nintendo'" }
     ]
}

 # the crucial part: add the specific auth-header for the python call
 response = request.post(api_url_for_guesttoken , json=payload, headers={'Authorization':f"Bearer {access_token}"})
Admittingly i did not know any better and on my first attempt tried to copy past the access token, which gave me a {'msg': 'Not enough segments'} error. This is because, i just “double click copy” the token. However, it is segmented in three parts, separated by a dot, which is why the double click action only was able to capture the first part (stackoverflow).
Also take note of the Bearer Token style of authenticating against the API with your (root) access token.
Creating a Guest Token With The Superset Swagger UI

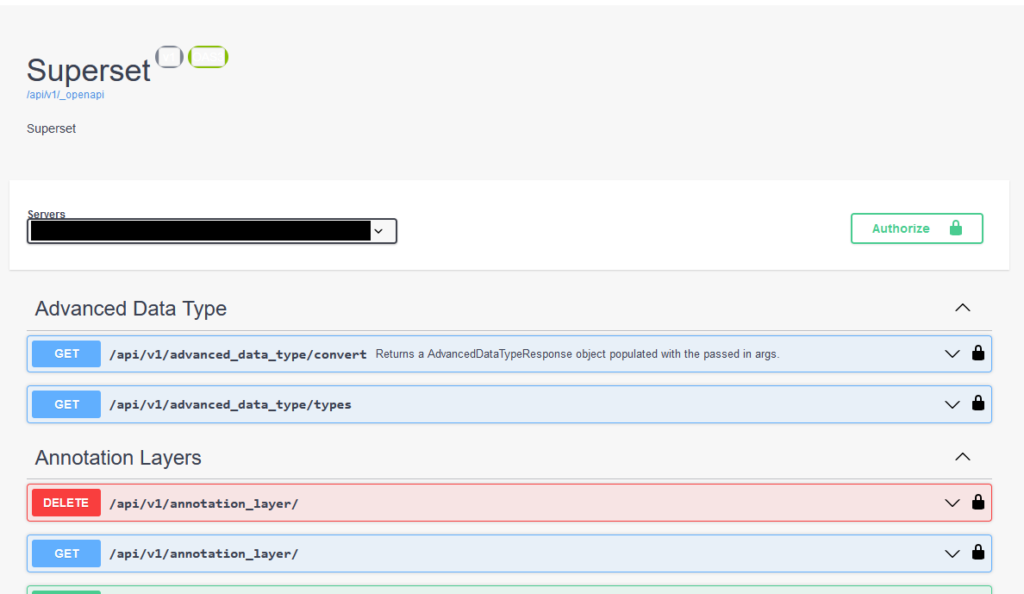
In fact i did not know, but the Superset deployment also offers the Swagger API Service. The steps are the same as outlined above. You would first need to create your access token, then register that access token (click on Authorize on the right upper corner). Now without further ado, you can create your guest token. This is quiete nicely and visually explained in this stackoverflow post.